Online Jewelry Training Classes for Metalsmiths

The trend today is that more and more metalsmith students as well as trained goldsmiths want to expand their skills and knowledge base in their own time on a familiar workbench. Through these online jewelry making classes we offer free and for sale modules designed to tackle one project at a time.
These projects are explained in a manner that you can, when completed, have the exact same piece of jewelry as the example. This method encourages you to tackle projects in small bite sizes and move on to the next project at your own pace.
On this jewelry making class list we provide highlights of available tutorials and link to the various subcategories. That way you can find projects at a glance.
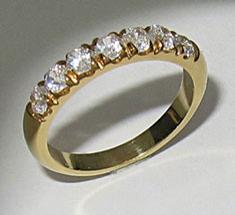
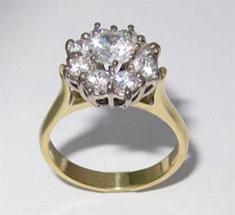
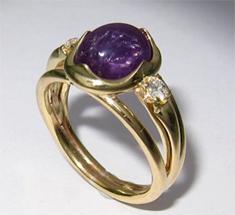
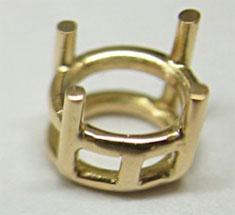
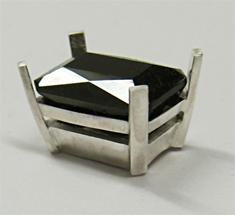
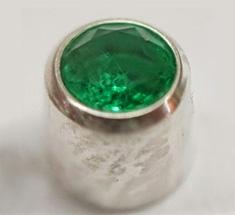
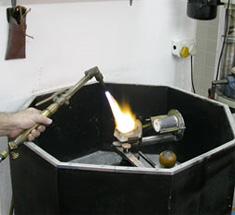
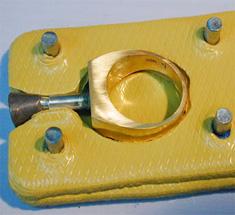
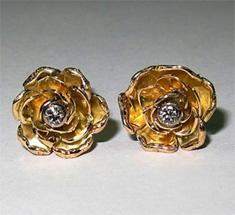
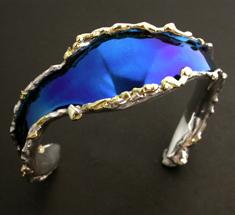
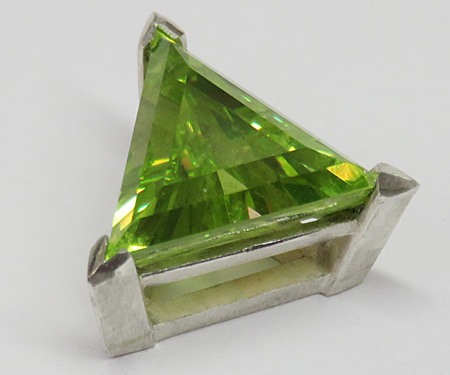
The subcategories range from rings, pendants earrings and bracelets. The other jewelry tutorial categories cover collet making in various degrees of complexity. Components / findings tutorials refer to all the other parts needed to complete jewelry projects such as catches, hinges, bails and technical guidance in making wire and tubing. Other training courses such as gem carving and gem setting, jewelry casting and flame fired enameling are also available.