Online Jewelry Training Classes for Metalsmiths

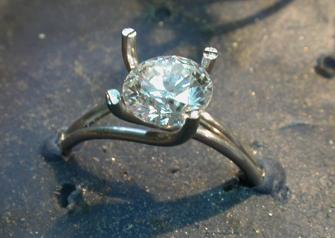
This is a bare basic instruction that gives the general idea of how to make this platimun ring. This is an often requested engagement ring with the preferred metal being platinum. Although this ring is made in platinum, it could just as easily be made in a different metal, like silver for instance.
This ring design only consists of the shank, four wires and a jump-ring which makes for six different pieces. However often even simple looking rings are far more complex to make than they look. That is the case with this ring particularly getting the pverlapping collet wires bent in a smooth continious line all the time staying true to the opposite wires from all angles.
This free tutorial follows the same format as all my other free and premium tutorials. This gives you a good insight into the technical teaching methodology.
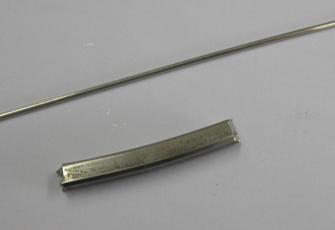
I start with a bar of metal and some wire 1.20 mm thick.
The wire will make the collet frame and the bar will be rolled out to make the shank.

I cut four pieces of wire equal length and bend them in this manner.
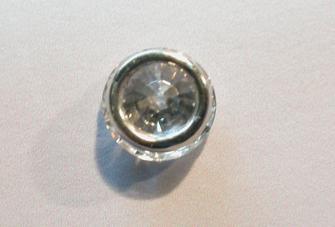
The jump ring that is fitted into the collet when it is made is just slightly smaller than the diameter of the stone.
One can imagine that if there were four wires soldered onto the outside of the jump ring, they would have to be notched for the diamond to sit on the jump ring.

A schematic showing of the principle of how the collet wires fit into the j-ring and how the diamond will be set.

In the design two of the wire go into each other and two wire are on the outside.
The bottom of the wires are soldered together first.
This can be quite tricky, so I play and bend and play some more until I am happy.
I use some wax to set it all up.
When it is set up, the four claws must form a square when one looks from the top.

Then I take a strip of soft copper and form it into a circle and build a 'dam' around my set up.
Very careful not to touch the wires and knock them out of true.

Then I use some dental plaster and fill the copper dam as is shown.
I let it harden and dry thoroughly.

After the plaster is hard, I pop it off the wax, remove the copper and then I heat everything up and solder the two places where the wires cross.
The jump ring is then soldered into the collet.
I have another free tutorial which can also be downloaded as a PDF file
called Making a Six Claw Collet.
In there, the manner in which a jump ring is soldered in is explained more fully.

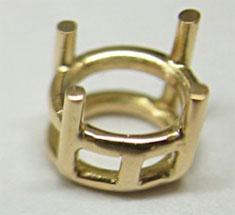
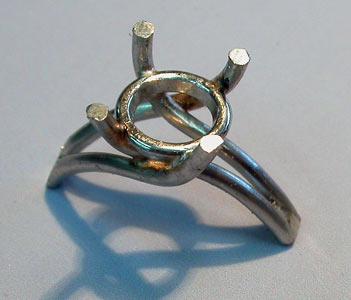
The shank is made and bent to accept the collet.
The shank is filed half round and the collet wires are filed to a smooth point so as to allow for a seamless transition from the shank.
Also the collet wires are cut apart (split) so that they start at the edges of the shank.
This is shown in the last picture.

The wires are bent apart and soldered onto the inside of the shank like this.

I purposely did not make every thing flush with solder, rather made it more 3 dimensional, so as to accentuate the emergence of the wire from the shank.( I grooved it slightly with a red knife edge rubber wheel.)
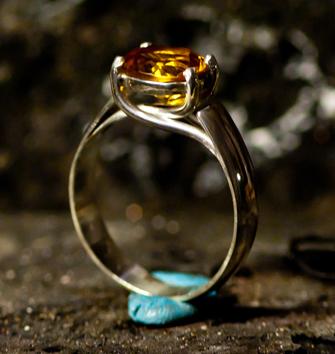
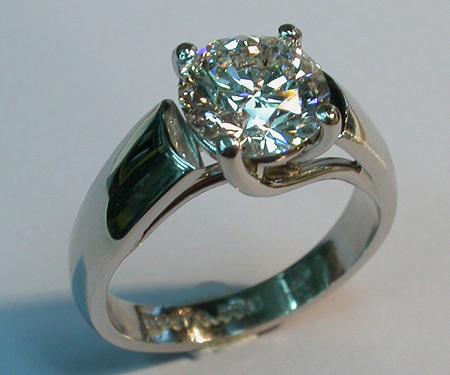
This is a ring a student of mine made from using this tutorial. Well done!
Click the link to receive your free PDF version on Making a Platinum Ring which will be emailed to you within 4 - 12 hours.
or select other projects from Jewelry Making Tutorials List
If you have any questions or wish to be notified of any new tutorials that are posted, email me.
This content is the intellectual property of Hans Meevis. More information on our Copyright and Privacy Policy