Online Jewelry Training Classes for Metalsmiths

Making a bell is a fun lesson with the emphasis on learning techniques such as sawing, filing, soldering and the doming process.
This free tutorial follows the same format as all my other free and premium tutorials. This gives you a good insight into the technical teaching methodology.
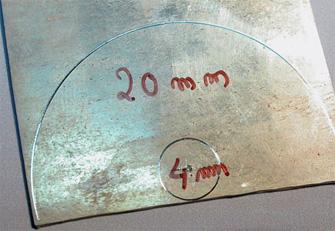
I start with a piece of metal that is rolled to about .6mm thick. It also is fully annealed. I scribe a 20mm and 4mm circle as shown.
Then I pierce the plate out. Now, the inner hole is 4mm diameter and the outer is 20mm so that should equal 16mm but I laugh that 1mm off because of filing and sanding and polishing. And since I am going to make a cone, I need to find out the circumference of the largest area of the bell, namely the bottom.

So I roll it on my ruler from the start to where the picture shows. It is easy to roll the thing on a ruler. To to work out a circumference it is the radius multiplied by 3.14. More or less
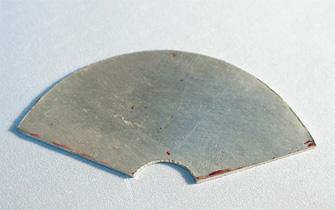
So then I pierce it out and then take my half round/flat pliers and bend it round so that it becomes a cone...I know it looks funny, but I promise you if you bend it round it will look like the picture below...I know, because the top picture became the bottom one.

The cone gets soldered and cleaned up to about 220 grit sandpaper. I left the joint more obvious for the picture, but it must be a lot better than is shown. Clean, neat and tight.
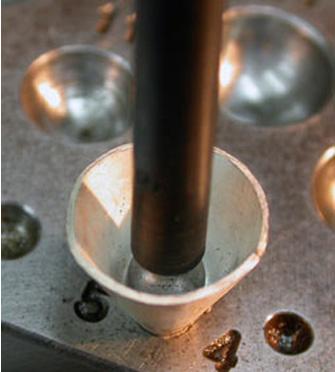
After it is soldered I take a 6mm ball punch and formed the top of the bell in a doming block. This closes the top and makes it round. I start at 5mm and then work it up to 7mm with the same 6mm punch.

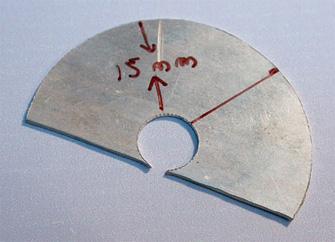
Once the top of the bell is formed, I take a 15mm punch and gently form the "bell' effect. Care has to be taken, because it is easy to tear the solder joint at this stage. Tap softly and anneal often.
Until the rough shape is formed.

Then the clapper is made simply by fusing the end of a 1mm piece of wire with your torch and bending the other side into a loop at the end and soldering it. It should be polished now.

The clapper is then joined to another piece of wire that will form the jump ring on the top of the bell. Note that both are soldered closed.

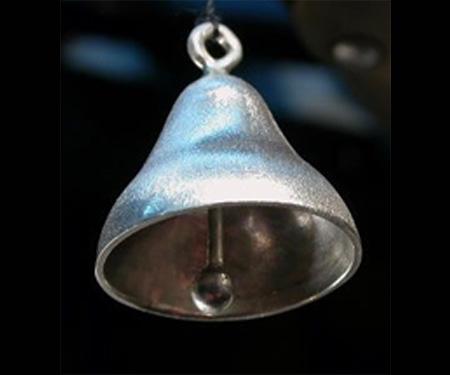
The wire that holds the clapper is drawn through the top of the bell and bent round and the soldered from the top. This now starts the bell, ringing---- and this one did sound good, if I may say so...
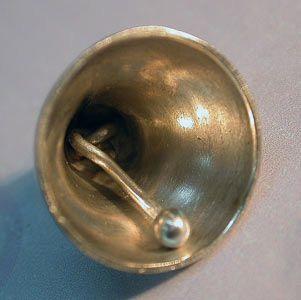
The inside of the bell.

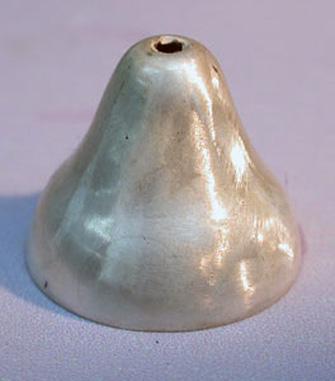
I finished it off with a matt surface
This is the basic bell... one can add engraving granulation, twisted wire and in fact gemstones set into the body.---All the bells and whistles.
or select other projects from Jewelry Making Tutorials List
If you have any questions or wish to be notified of any new tutorials that are posted, email me.

This content is the intellectual property of Hans Meevis. More information on our Copyright and Privacy Policy


